Materials:
- Watercolour paper pad
- Choice of watercolour (colours chosen here: alizarin crimson, opera pink, rose madder, permanent red, indigo, cerulean blue, permanent deep yellow, new gamboge and green gold)
- Different size paintbrushes
- Palette
- Containers of water (one for cleaning and one for diluting paint)
- Paper towels
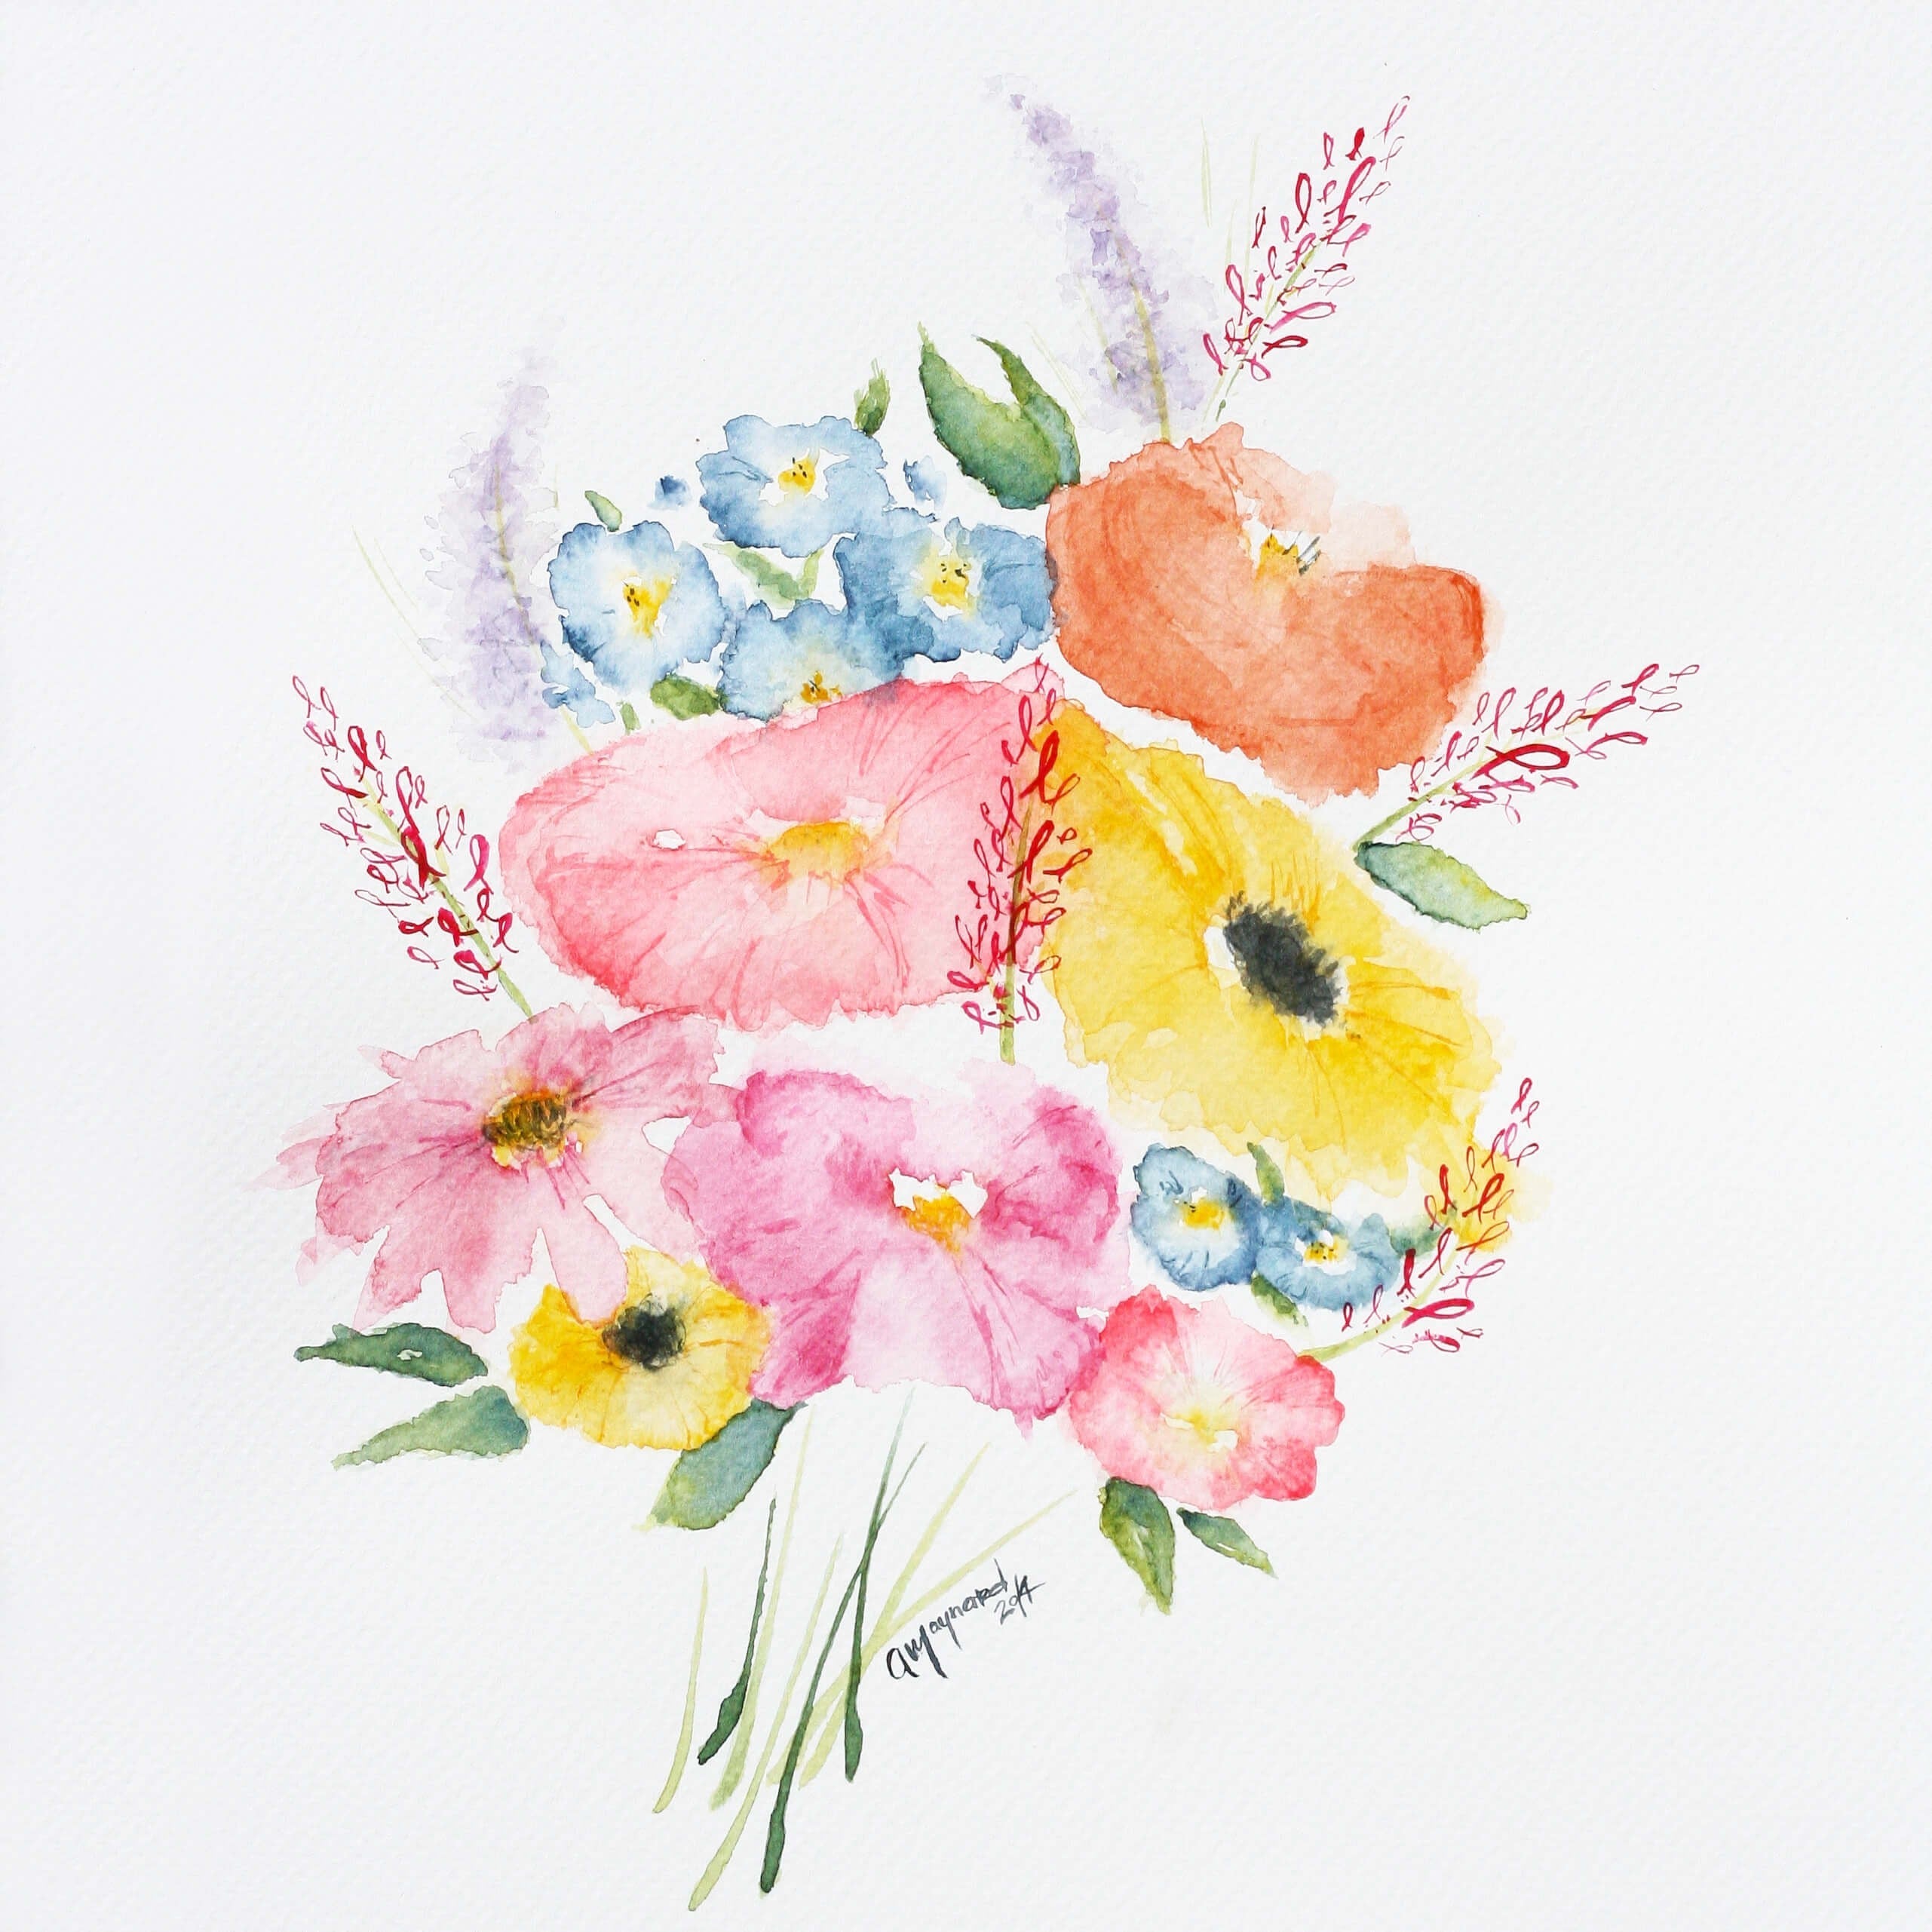
Step 1: Prepare the colours and mixtures in large enough qualities for the project. Use a limited range of colours (variations of primary colours was used for this project) since they can be mixed to create different hues.

Step 2: Use a clean brush loaded with water to create the general shape of the flower, painting outward from the centre. Then, add a first light colour wash (it’s easier to add colour than to remove it). If your paper is too wet, the added colour will be much more difficult to control, and may go where you don’t want it. Conversely, if your paper is too dry, the colours won’t blend and won’t create a diffuse effect.

Step 3: While the paper is still moist, add colour to the areas where the petals will be. If the paper is dry, carefully moisten your work area, being careful not to remove the colour that is already on the paper. If you have too much water or colour on the paper, remove the excess with a clean, dry brush or a cotton swab.

Step 4: Repeat steps 2 and 3 to create the other flowers and leaves. You can mix the colours right on the paper by putting two colours side by side on the wet paper and gently mixing them with your brush. To overlap certain colours without blending, wait for the first layer to dry, moisten the area with clean water and add the second colour. To check whether the first layer is dry, touch the area. If it feels cold, the paper is still damp.

Step 5: Use a fine paintbrush for detailing. To create more definite lines, paint directly on the dry paper. It isn’t always necessary to add a lot of detail. Sometimes, just a few lines will do.


