Materials :
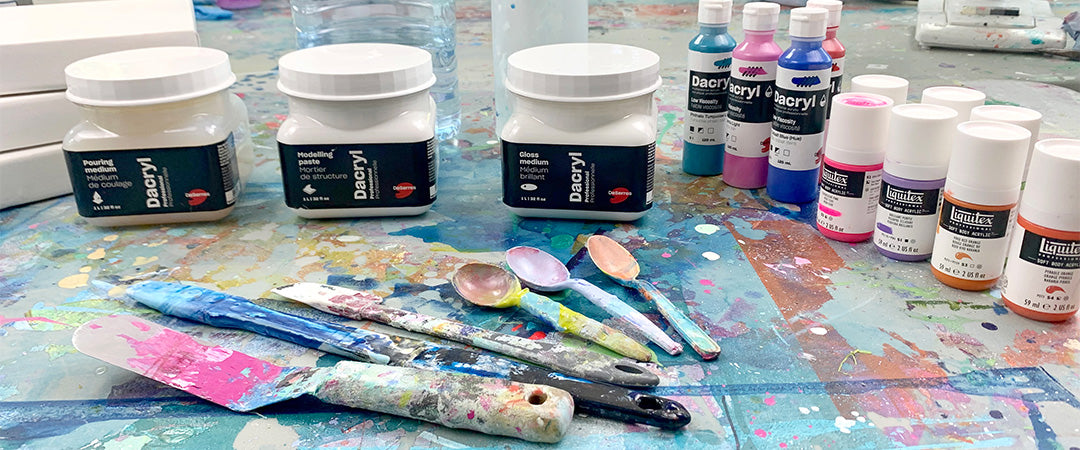
- Dacryl Professional Modelling Paste
- Dacryl Professional Pouring Medium
- Dacryl Professional Gloss Medium
- Dacryl Low Viscosity Professional Fluid Acrylics
- Liquitex Professional Soft Body Acrylic Paints
- Canvas or wood panel (primed)
- Rubber spatula (like the ones you have in your kitchen)
- Plastic spoons
- Spray water bottle
- Plastic containers (with lids) to mix products

Here are three different ways you can create your own ground, using the acrylic polymers listed below.
Modelling paste
What is it?
Acrylic modelling paste is exactly that: a thick paste that easily blends with coloured paints and has the consistency of cake frosting. It is white and fairly opaque. When mixed with colours, it lightens the colours that are being added, creating pastel shades.
One can add more pigment, to intensify the colour load.

Step 1: Use your rubber spatula to serve yourself a good helping of the paste. Put it into a clean plastic container.

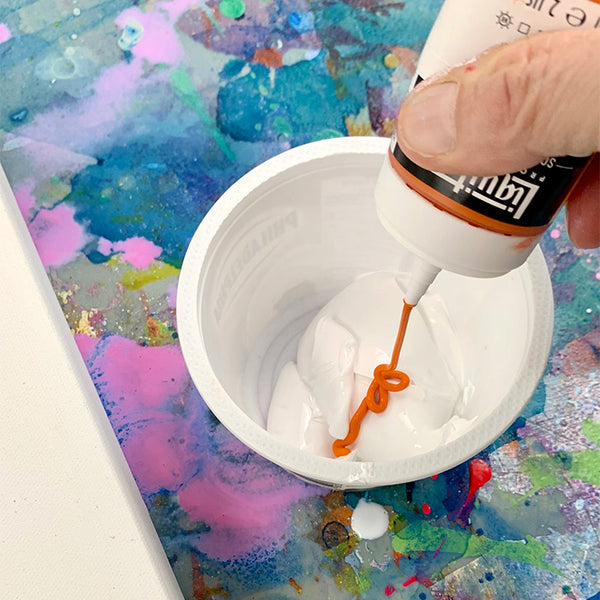
Step 2: Add your colour. I used Vivid Red Orange Soft Body Paint by Liquitex and mixed it in until I reached a nice, even consistency.


Step 3: With your spatula, apply the mixture generously to your substrate, in the same way that you would frost a cake.

Step 4: Set aside to let dry.
Step 5: Once dry, you can paint around and on top of the hardened paste with acrylic paints, allowing only some parts to show through, if you wish. The paste will maintain crests, ridges and valleys—creating nice texture!
Pouring medium
What is it?
As the name implies, pouring medium is a semi-clear, syrupy medium that pours easily. Drying time depends on thickness when applied, as well as the humidity level in your working environment. However, one can usually expect it to take anywhere from one hour to a couple of days to dry.
Step 1: Pour some of the pouring medium into a clean plastic container (that has a lid, for later storage).

Step 2: Add your colour. I used Dacryl Professional Acrylic (Cobalt Blue Hue), which is a fluid paint with an acrylic ink-like consistency. The more paint you add into the mixture, the more intense the colour will be.


Step 3: Stir well, until the colour is even and smooth.
Step 4: Pour the mixture paint onto your primed canvas. You can tilt your canvas in different directions, to move the mixture around the surface. This can get messy, so be sure to do it in a well-protected area, or somewhere you don’t mind getting dirty!


Step 5: You can spray water onto the edges of the pour to soften it. This creates a beautiful gradient.

Step 6: Set the piece aside to dry.
TIP: Don’t place your canvas in front of a fan, as it will craze (crack)—though some artists love the cracks!
Step 7: Once dry, the surface will be smooth and have a satin finish, creating a flat ground on which to paint with acrylics.

Gloss medium
What is it?
Gloss medium has a white syrup consistency and dries to a shiny finish. It is a bit denser than pouring medium. This medium is good if you really want to create texture, as the shine will show all the bumps!
Step 1: Pour some of the gloss medium into a clean plastic container (that has a lid, for later storage).

Step 2: Choose a bottle of the colour you wish to add. I used Dacryl Low Viscosity Professional Acrylic (Magenta Light), which is a fluid paint with an acrylic ink-like consistency. The more paint you add into the mixture, the more intense the colour will be.
Step 3: Shake your colour well and add it to your gloss medium, little by little.

Step 4: Stir well, until the colour is even and smooth.


Step 5: Pour the mixture paint onto your primed canvas. You can tilt your canvas in different directions, to move the mixture around the surface. This can get messy, so be sure to do it in a well-protected area, or somewhere you don’t mind getting dirty!

Step 6: You can spray water onto the edges of the pour to soften it. This creates a beautiful gradient.

Step 7: Set the piece aside to dry.
TIP: Don’t place your canvas in front of a fan, as it will craze (crack)—though some artists love the cracks!
Step 8: Once dry, the surface will be smooth and have a glossy finish, creating a shiny, slick ground on which to paint with acrylics.


